Sunday, December 21, 2014

Lotsa Stuff...

I am still on a quest to use the stacks of papers, bins of gems, tubs of rubber stamps.  On January 1, 2015 I will wander back into stacks of fabrics and begin sewing again on quilts for the Homeless Veterans that live in the forests of cold Northern Arizona.  I am proud to donate greeting cards to The First Families of Arizona of which I am a proud member.   Below you will see some of the 60 cards I completed.  The First Families of AZ are members whose forefathers came to Arizona before Statehood (February 14, 1912.)  My mother, her parents and 4 brothers arrived in Phoenix in 1909 when Mother was about 6 months old.  


I love to buy the little colored note pads at the Dollar Store and encase them in pretty little folded covers.  Here are a few.


 I made a LOT of Christmas cards as I do each year...some for my son and daughter in law, and some for me.  Below is a giant card for a high school friend, and a little sign that says "persevere".... She told me she needed reminding now and then so I helped out with a sign to hang.
 Christmas is nearly here, my friends.  Have a Merry one. And thanks for stopping by.

Wednesday, December 03, 2014

Tutorial for Making Boxes

MAKING BOXES THE EASY WAY
A few years back I think I posted a tutorial for making cute boxes.  I have recently made a LOT of boxes in attempts to just use up papers that I have stashed all over.  Boxes are so much fun to make and with each box, by decorating it differently, it's like making the very first one.  
I like using the 12x12 papers I have accumulated and two sided papers make that box pretty inside as well as outside. .  You can create a box of any size from large to tiny.  My favorite size is 8x8, and with the left over strip, I can make two little boxes in the 4x4 size.  A perfect little set up, as they say.
Here are two different patterned 12x12 papers and these happen to be really sturdy card stock which of course makes a really sturdy little box. I have the papers sitting atop my Scor-it.  There are a lot of score tools available but this is my favorite because the scoring design creates a really visable score. 
 You will need two of the 12x12 sheet of cardstock. I cut two in the 8x8 size, and with the remaining strips, I cut 4 of the 4x4 strips.
 An alert...!  You have to be really precise when measuring the cardstock cuts because if you are not exact, the boxes will not fit.  Either the top or the box bottom will be too large or too small and they will not fit together nicely,.  Believe me, I have a big tub full of box lids and box bottoms that are "failures"
I will be featuring the 4x4 box side.  Here is a view of a 4x4 piece slated for the box lid.  I have scored on all 4 sides 3/4 inches.  The smaller the score, the larger the box and the smaller the sides.  In other words, if I scored this paper at 1", I would have a small box but higher sides.  On the 8x8 size, I actually score at 2" for the lid and 2-1/16th for the box.  If I am going to decorate the box lid with additional embellishments, in order to not lose track of the lid and the bottom, I cut a small triangle from each corner of the lid and I do it the same time I am scoring the lid..  Below you can see the score lines on all four sides at 3/4th of an inch.
 This is a view of the box bottom and I have scored 3/4th plus the next 16th mark past the 3/4 line.  I try to be oh so exact so the top and bottom will nestle properly.
 To enhance the folding of the box lid and bottom, I fold up on each score line.  In the photo below you can see black marks from the score line down to the edge, with the lines exactly opposite of each other on each side of the cut. Do this on both the lid and the box.  Cut on these lines from the edge up to EXACTLY where the score line is.
 I fold up those cut edges.  I do each side separately for the gluing process  Glue on the outside of #1 and glue on the inside of #2.  Fold the #1 edges behind #2.  Hold for a second.  An alert...!  It is important that when you are gluing the small cuts to the #2 flap that the edge is right on that corner of the box.  If the flaps are not exact, this will also cause the box and lid to not fit properly.
 Here are the box lid and box bottom with the edges folded up and glue.
 Once the box has been closed and it fits nicely, then you can do your decorating and embellishing.
Trust me, these are addictive.  I love making boxes.  Please try some too.  If you have any questions, you can email me.

Tuesday, December 02, 2014

Paper Stuff

I leapt into paper stashes in October and typically I am still surrounded by paper projects.  I find that once I have moved over from sewing to paper, it is difficult to leave and go back to sewing.  That same struggle is true when I am sewing.  I want to sew forever and ever and ... well, you know. Right now I am determined to use up paper.  There are shelves and drawers and stacks so I am just slam dunking cards and boxes like a mad woman. 
I LOVE making boxes.  The 8x8 size uses up two 12x12 sheets of paper and that is a head start on slimming down the stacks.  I love sharing these boxes with friends.
 More boxes...  That orange and black Halloween box sure takes center stage, doesn't it?
 Boxes and boxes.  Years ago (and I mean years ago) I bought some cardstock packs at Tuesday Morning.  It is a lovely weight and this cardstock makes awesome sturdy colorful boxes.
 Now onto the cards.  These are card toppers with a few little punch outs in the mix.  I get these sheets at my favorite Scrapbook store, Scraps of Love, ... they can create a cute card in no time.
 More punch outs.  So quick to make, so cute in the end result.
Thanks for your visit.  Hugs to all.

Sunday, November 09, 2014

Sewing Stuff

Actually I am still knee deep in paper projects .... these are some little items I sewed up before October 6th.  Zippered purses (in the hoop embroidery machine design, oh so simple and fun, and 8 minutes) little snippets of left over fabrics are made into eyeglass cases, or little pouches. 


 Coffee Cozy.  In the hoop embroidery machine design, 3 minutes to make.  Takes me longer to sew on that button.
 One of my faves.... mug rug... a little mat for a coffee cup AND a cookie treat.  My friends love these.
That's it.... back to paper stuff.  Thanks for your visit.

Monday, October 27, 2014

Slam Dunk Cards APlenty

Heavy Post Warning.  I left sewing for a wee moment to make Christmas Cards, as I do each year...45 for me, 45 for my son and daughter in law.  That little assignment swooped me up into paper crafts again.  So here they are, slam dunkin' at its best.  I am desperately trying to use up the many many shelves and drawers of paper, supplies, etc.  Using it all will never happen.  I could never live long enough. But I did have fun making these.  For the past 2 days, however, I switched over to making pretty boxes, some with the clear lids and a cute stacked calorie free paper birthday cake to sit inside.  I will post those later.  Meantime, if you are here, your eyes have enough to deal with as it is.  Happy day, my sweet visitors.  


 These are just little gift cards. Can't toss a small piece of paper so gift cards come easy.


Wednesday, September 24, 2014

Lorelie, Etc.

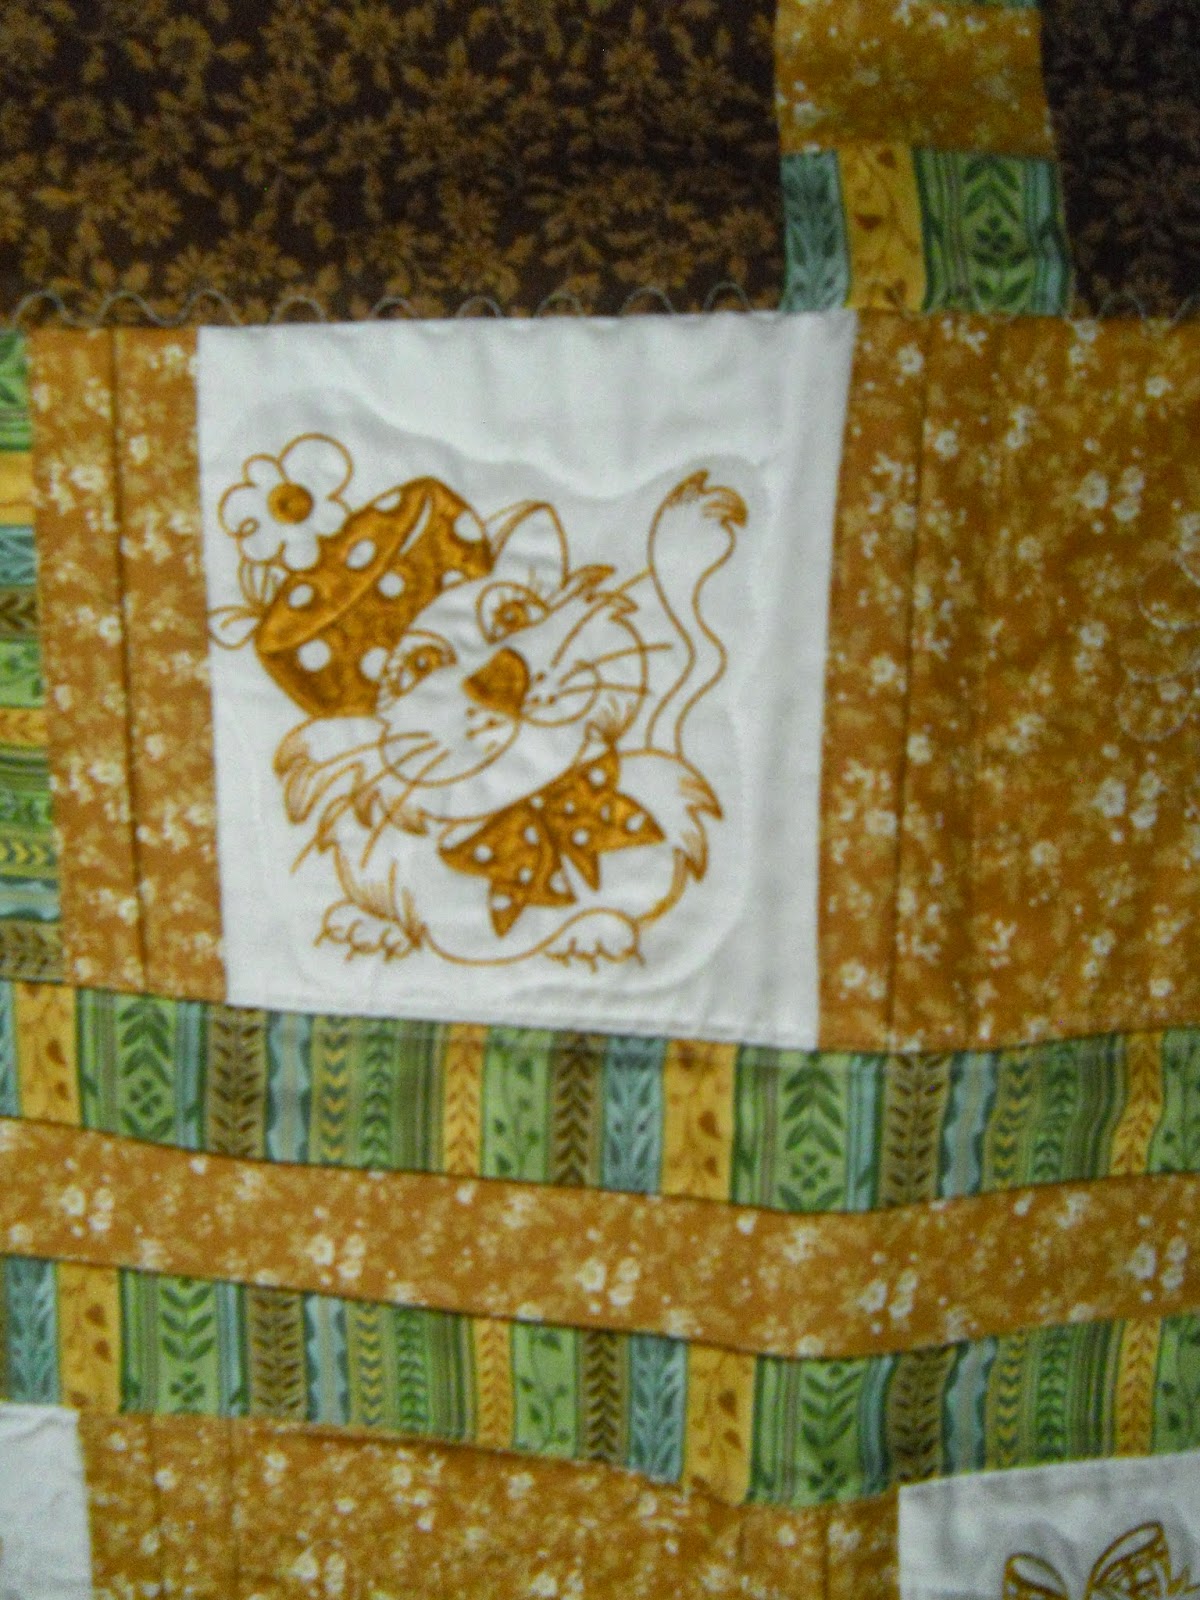
The secret is out.  I love fabric.  One designer that I leap toward is Lorelie and her absolutely devine whimsical fabric choices.  At the annual Quilters/Craft Festival last January I came upon Lorelie's booth and I went wild with glee.  I not only purchased darling fabrics but I bought her two embroidery designs; one for cats, one for dogs. It is also no secret that I love to make lap quilts.  If I get into a quilt that is large, I am drawn to finish it but also drawn to the stacks of other projects I am anxious to start.  So, making smaller quilts is my bag.  Here is one of the sweet whimsical cats, embroideried in gold to coordinate with the fabrics I selected. 


Here you see a lap quilt featuring the embroidery cat designs.  So cute.


I do labels for the backs of all my quilts.


Here you see wonderful Lorelie florals mixed with embroidery designs from another embroidery CD with a Paris theme.  This small lap throw was gifted to my friend Cathy ... she and her husband went to Paris a few years back and she was delighted to get my Paris quilt.


Distorted photo but nonetheless it captures the cute whimsical and very colorful cats from the Lorelei line.  This quilt just left with my friend Jean and her husband Ed who were my visitors for a few days.


 I have a lot of Lorelei fabrics left to create with so stay tuned.  And if you did not see them before, please scroll down to the Card Camp at Pat's house a few weeks ago.  She made THE cutest greeting cards using some of the Lorelie fabrics.

Here is my first Dresden Plate quilt.  Lots of boo-boos on this because I applied the Dresden design to the white block and then sized the block 2 inches out from the Dresden point.  My bad... My friend Yvonne who did a Dresden said she sized the block and then put the design on it and that created a nice uniform block.  My mistake was not realizing that the points on each of the Dresden designs did not lay the same so 2 inches on one block was not 2 inches on another.  I had to resize some of the blocks and needless to say this quilt will remain here with me, boo-boos and all... and next time I will know what not to do.  Still, the colors are pretty, doncha think?


Friday, September 12, 2014

Arm Candy


A few months ago my friend Stayce asked if I could make something that would carry a diaper, a bag of baby wipes and would be something that could hook on a wrist for convenience sake.  I remember the days of having a small baby and the lugging that was done when going anywhere.  This is what I came up with.... I used some cute baby fabric, quilted it for sturdiness and attached a wrist loop.  Came out cute, I think, and Stayce was very pleased. 

It was soooooo simple.  I just used 2 long pieces of fabric with batting between, quilted the entire piece, folded it 3/4th of the way up, added the handle, sewed the sides, sewed on some velcro and it was done. 


That's it.... I am working on a brightly colored quilt with cats ... can't wait to finish it and show it off.  Thanks for stopping by.