When I work on my Brother Innovis2500 Embroidery Machine, I sit totally mesmerized at each step. Doing embroidery designs for totes, quilts, tee shirts are a snap. Next comes applique embroidery where you use fabric pieces that are individually added to the design with satin stitches. I am always a wee bit nervous when I start one of these but they fall together easily so long as you pay close attention to the messages that come up on my embroidery machine screen. . My machine has a nice large digital screen that goes thru each step with a very clear picture and instructions. I just purchase a little CD that has about 30 animal faces that are appliqued and embroideried and I can see a baby quilt being made very soon.
Now to the task below. I love making gifties and the little zippered purse is just that. I bought an online design from
http://www.charmingstation.com/. This lady had an awesome step to step youtube video and I absolutely had to try this myself. So ...here it is...
Step #1 is to put tear away stabilizer in the hoop. In this design I used a 5x7 hoop. Here you see the 3 various sizes of fabrics (for the upper and lower parts as well as the back of the purse) , the spools of thread and a long long zipper that can be cut to the necessary size. I started out using an 8 inch zipper and I ruined 3 attempts, and broke 3 needles. The larger the zipper, the better, and I had a difficult time realizing that in the end result the zipper can easily be resized in the sewing process. I am using a 12 inch zipper in the 5x7 purses.
Step #2. The design sews single stitch lines that show exactly where the fabrics are to be place as well as the Zipper.
Step #3. I lay the zipper down, with the metal closure about 2 inches above the stitching line, and the metal end of the zipper is at least 2 inches below the bottom stitching line. I failed to do this properly and broke those needles that slammed into the metal parts. I tape the zipper so that the zipping part lays exactly on that middle line. I use just plain ole scotch tape to secure the zipper. Then the machine sews down each side of the zipper, anchoring it into place. If the needle sews over the scotch tape, it is very easy to remove when it is time.
Step #4. Next instruction is to sew down the lowest part of the purse. The folded edge is place in the center of the zipper itself. This sews so easily that I don't really need to tape down parts of the fabric to the stabilizer. However, I do...just in case.
Step #5. Now I sew the upper part of the purse. Again I place the folded part of the fabric to butt up against the folded edge of the lower portion which covers the zipper. The machine then sews down each side to anchor the fabric.
Step #6. Now the fun begins. The embroidery machine design sews a delightful rick rack design along side the zipper, and that really anchors the zipper. Later today I actually tried to lay down some real rick rack. I tacked it down, and made sure it ran along that stitching line and it turned out nice. In this scene, however, this is rick rack that has actually been embroideried.
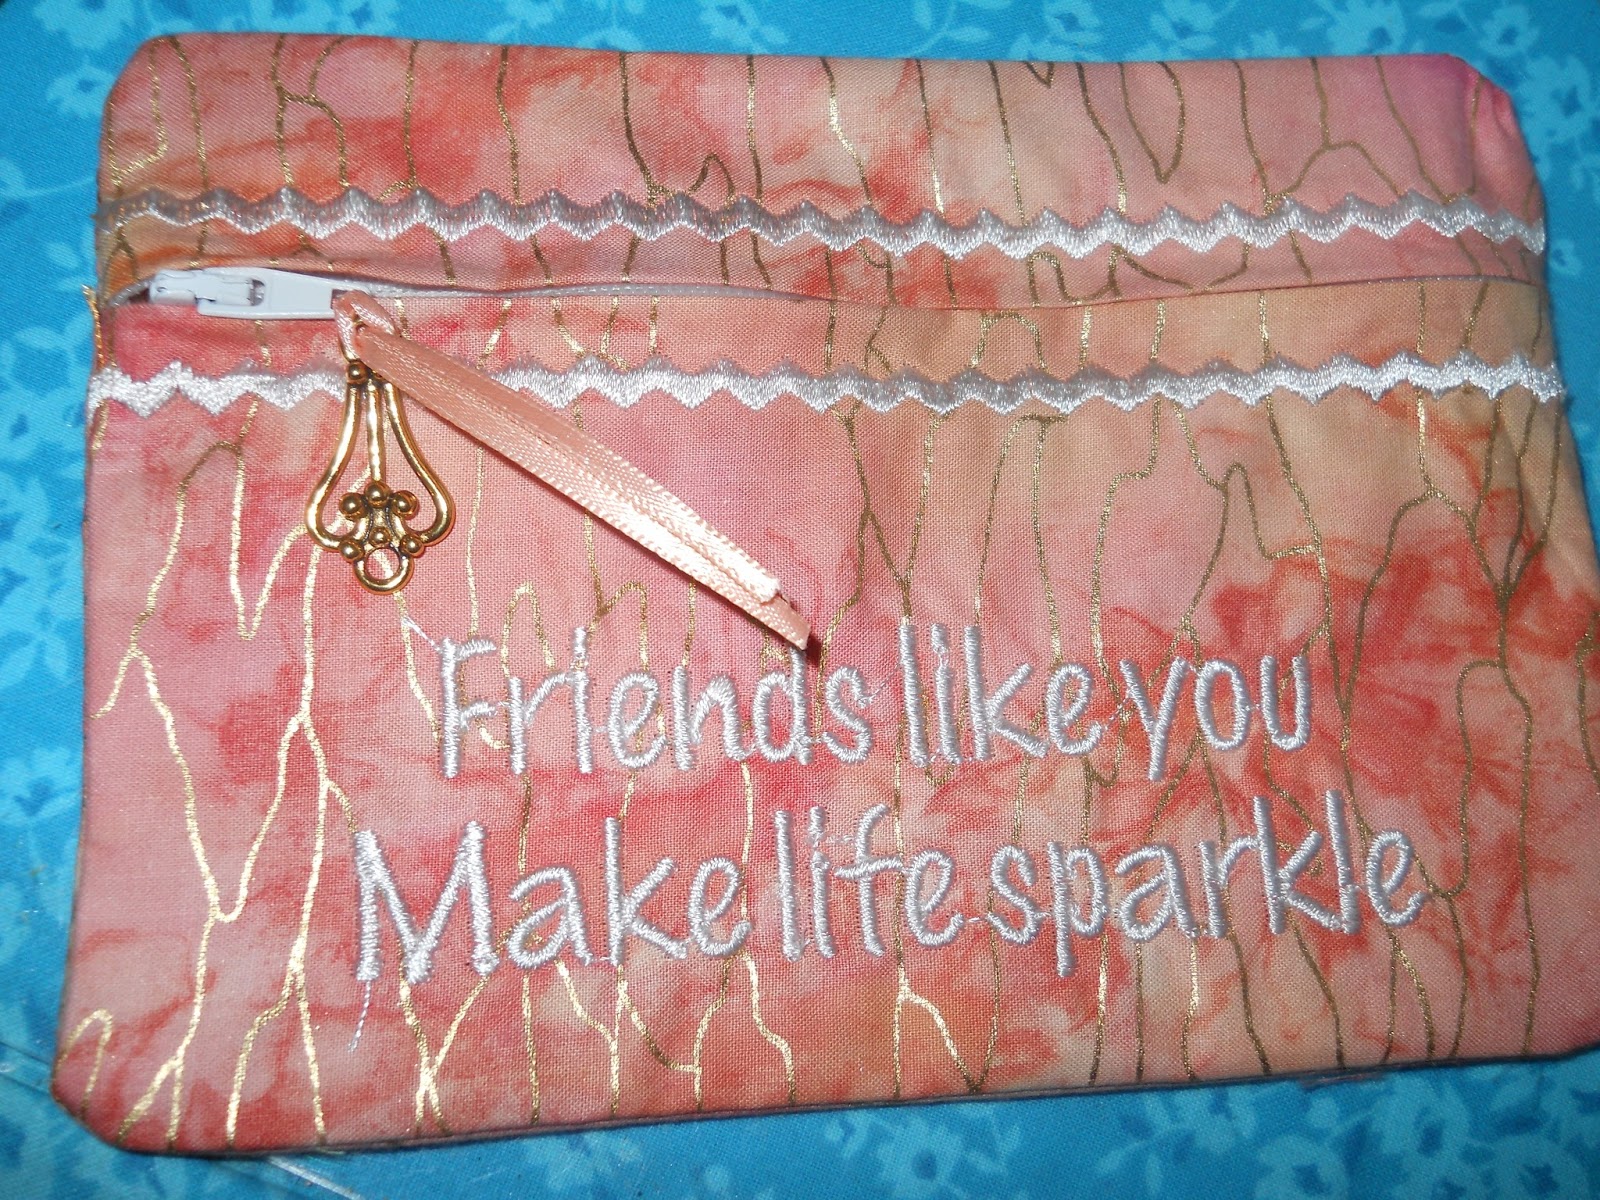
Step #7. The next step is to embroidery a cute little message on the purse. This particular pattern gives 12 different messages. I like this one that says "Friends like you make life sparkle". Before I start this part, I unzip the zipper from the top down to about 2 inches from the bottom. This will keep the zipper head out of the way of the constantly moving embroidery process...and it will allow the zipper to zip up the final area that will soon be captured under seams.
Ok, the front of the purse is finished. The Zipper is in place and zips up and down nicely, the rick rack gives a fun little embellishment and my little sentiment is stitched out perfectly.
Step #8. I cover the front of the purse with the back fabrics. It lays nicely, and stitches on easily even without taping. This sews around 4 times to really give a strong seam.
Step #9. I remove the stabilizer from the hoop. And I need to tear away all of the sections that have stabilizer on them. It isn't difficult. In this final section, you can see the tail of the zipper with the metal end. This is snipped away. The metal zipper head is in the center of the purse, the upper part of the zipper has been sewn at the seams. I will snip away that upper part. The zipper is in full function at this point. Again, using a much longer zipper makes this process very easy. Otherwise trying to keep those metal ends away from the needle is a huge task and one I failed at..three times...!!!
This is a picture of the purse that has been trimmed all around very close to the final zig zag stitching...and it is now ready to turn right side out and press. I have to use a polyester zipper so I make sure the iron doesn't touch that part.
Here we are. A finished little zippered purse. I added a ribbon and a gold embellishment for ease of opening and closing the zipper. I've pressed the upper part and the lower part, making sure to not touch that polyester zipper.
I love making these. With each change of fabric, I get a new thrill. And I have used several of the little messages...I loved the 5x7 purse so much, I went back and ordered the little 4x4 hoop purse. On these I can use up my 8 inch zippers without any problem.
Hope you liked my tutorial on my fun fun sewing adventure.


6 comments:
These are beautiful, Carole. You really rock the embroidery machine!
wow that is the perfect material for that awesome bag, you are just stitching out magical beauty over there, hugs
Love the fabric you used on the zipper bags. I need to come and look over your shoulder for a couple of weeks just to LEARN! You make the neatest projects!!
Hugs,
Susan
These are gorgeous, I love the fabric you did the tutorial with, even if it was way over my head, ha ha! Great looking purses!
Oh Wow Carole these are wonderful. You make it sound so easy but you are a whizz with your machine!
Jayne x
Beautiful Carole! I still have my little tissue holder that you made :)
Post a Comment