I made these Steering Wheel covers for fun, and I've found that my friends love having one. I've been asked for the pattern. I made the pattern myself but I thought perhaps I could do a tutorial on the various steps. Photo heavy, I warn ya.
SUPPLIES: 1 Yard of Fabric (corrected)
1 Yard of batting (not fluffy)
Steering Wheel Front: Cut 2
Wheel Cover Back: Cut 2
Batting: Cut 1 each for front and back
Basically the pattern for the front is a circle with the bottom cut straight. It is 18-1/2 inches wide and about 15 inches tall. The back of the cover is the same circle but with a "cove" cut out of the center so it will fit over the steering wheel pole.
For the batting on the back cover, I do not cut out the full pattern because it makes the back of the wheel cover a little too stiff.
As I mentioned, the back of the wheel cover is the same circle but with the center coved out. The fits over the wheel pole. From the bottom flap, it is 4-1/2 inches wide, then to 5-1/2 inches wide, to 6-1/2 inches wide and just above the cove, it is about 9 inches wide to the center fold. When I stack the front and backs, if I have the front or back a bit larger, I trim to make the cuts match.
 Here you see two stacks so that once the
pattern is cut out, both the cover and backing are cut out.
Below is the batting put on the back side of the back wheel cover. I sew from side to side to attach the batting to the fabric.


Back of wheel cover: Right side to right side, sew the back cover together but leave about 3 or 3-1/2 inches open on the inside. Below you will see the blue pins marking the area to leave open. This is for turning right side out.
Before turning right side out, clip around all curves except in the area where you have left an opening.


Above you can see the opening. Fold the edges in, and press. Mark 7 inches up from the end of the outside flap and pin. Do this on both sides. You will sew along the edge from the 7 inch mark DOWN to the end of the flap and sew all around the inside cover, across the flap bottom and sew up 7 inches. The photo below shows the needle in position to start sewing at that 7 inch mark.

This is the back. You can see the sewing from that 7 inch mark on both outside edge of the flaps.

I do some simple quilting or stitching on the front panel of the wheel cover to attach the batting.


Sew the front cover and back cover together, but leave an opening on the bottom straight edge. I sew in about 3 inches, and then skip to the outside 3 inches. This is for turning right side out.

With wrong sides together, attach the front of the wheel cover to the back. Your quilting stitches will be on the front of both pieces. Pin from 7 inches up and all around, stopping at the 7 inch mark on the other side. You will start sewing ABOVE the 7 inch mark, sew up and around the top of the covers and stop sewing at the 7 inch mark on the other side. This leaves a flap to allow the cover to slip over the wheel easily.
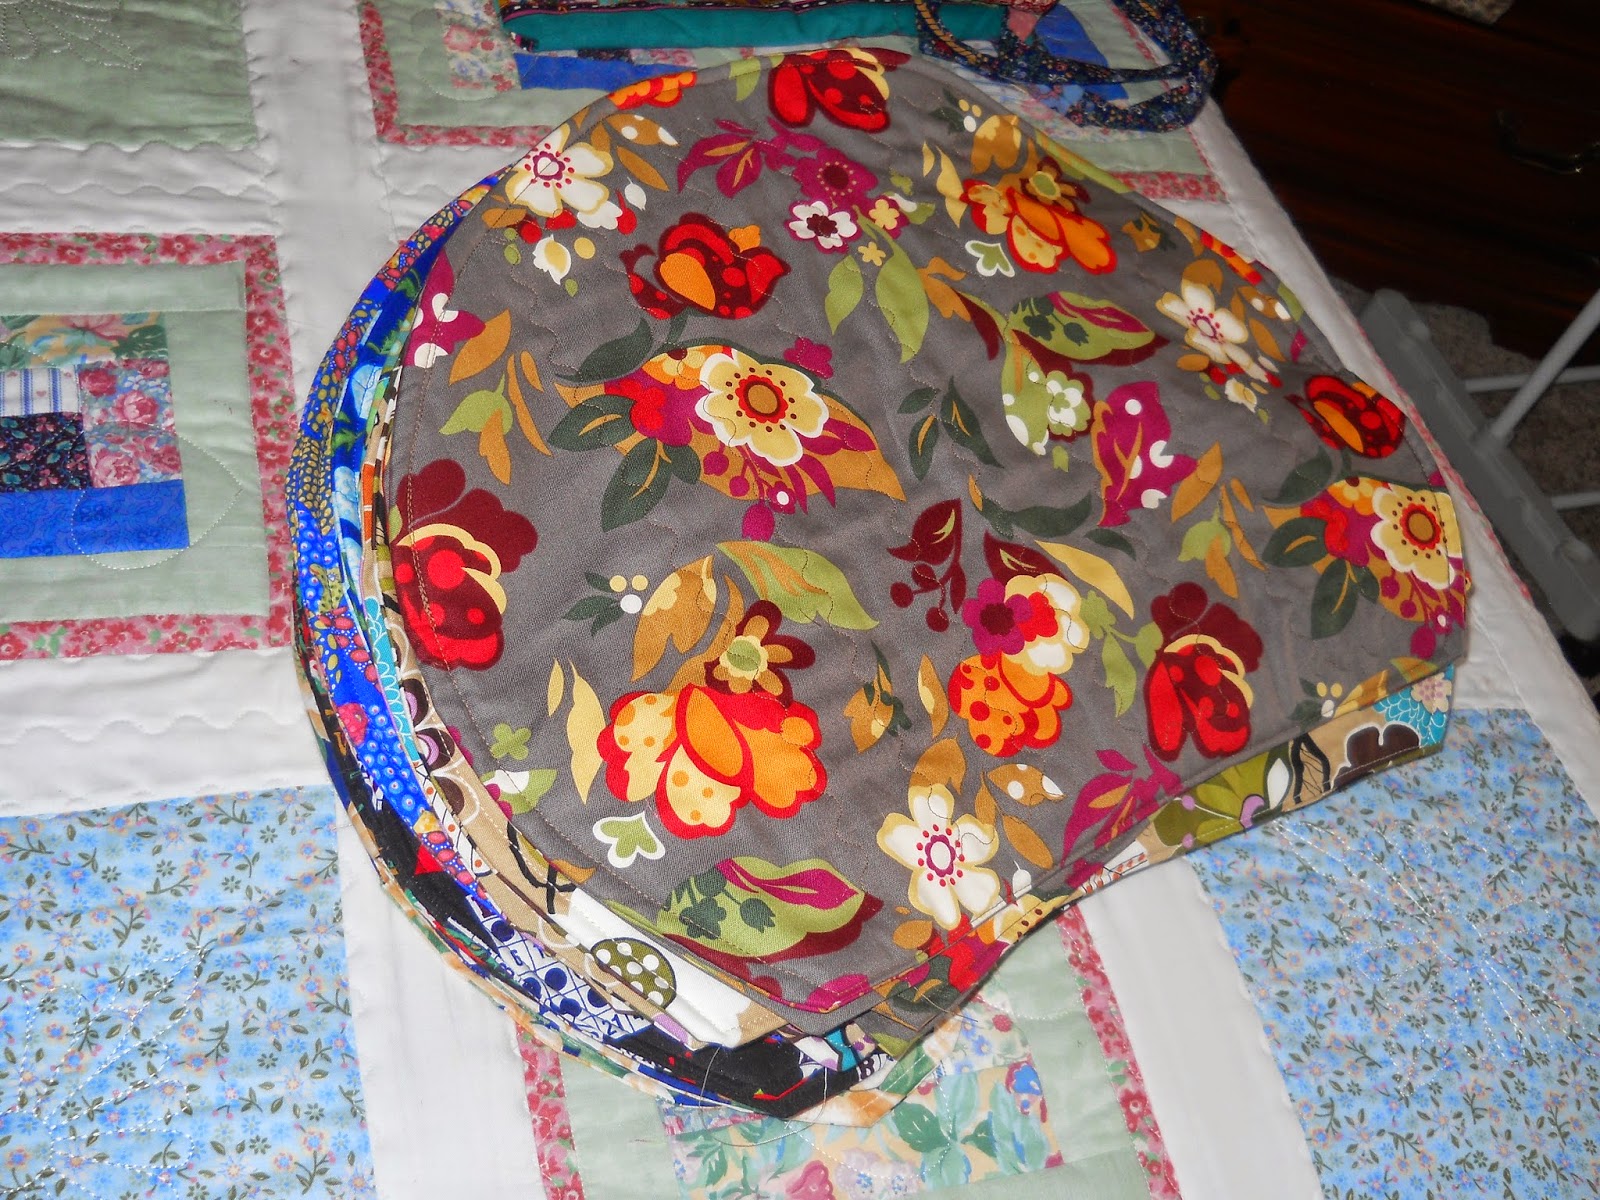
Here is a pretty floral Steering Wheel Cover that I have on my car.